
Setting up a Meta Business Suite ad account takes about 20 minutes and six steps: create the business account, verify your business, add or create the ad account, set up business-level billing, assign roles, and connect your Page and Instagram. Done this way, the account belongs to your business, not to whoever's personal profile happened to set it up.
By Joël Maniaki, marketing architect at Kabula. Last updated 01 October 2026.
If you haven't already, read why a dedicated ad account matters before you build it. An account tied to a personal profile can put continuity, billing and access in one person's hands.
Before you start
Have these ready:
- Your business's legal name and registration details for verification.
- A business email address instead of a personal Gmail or Yahoo address.
- A payment method your business controls, rather than a personal card if possible.
- A list of who needs access and what level of permission each person needs.
Step 1: Create a Meta Business Suite account
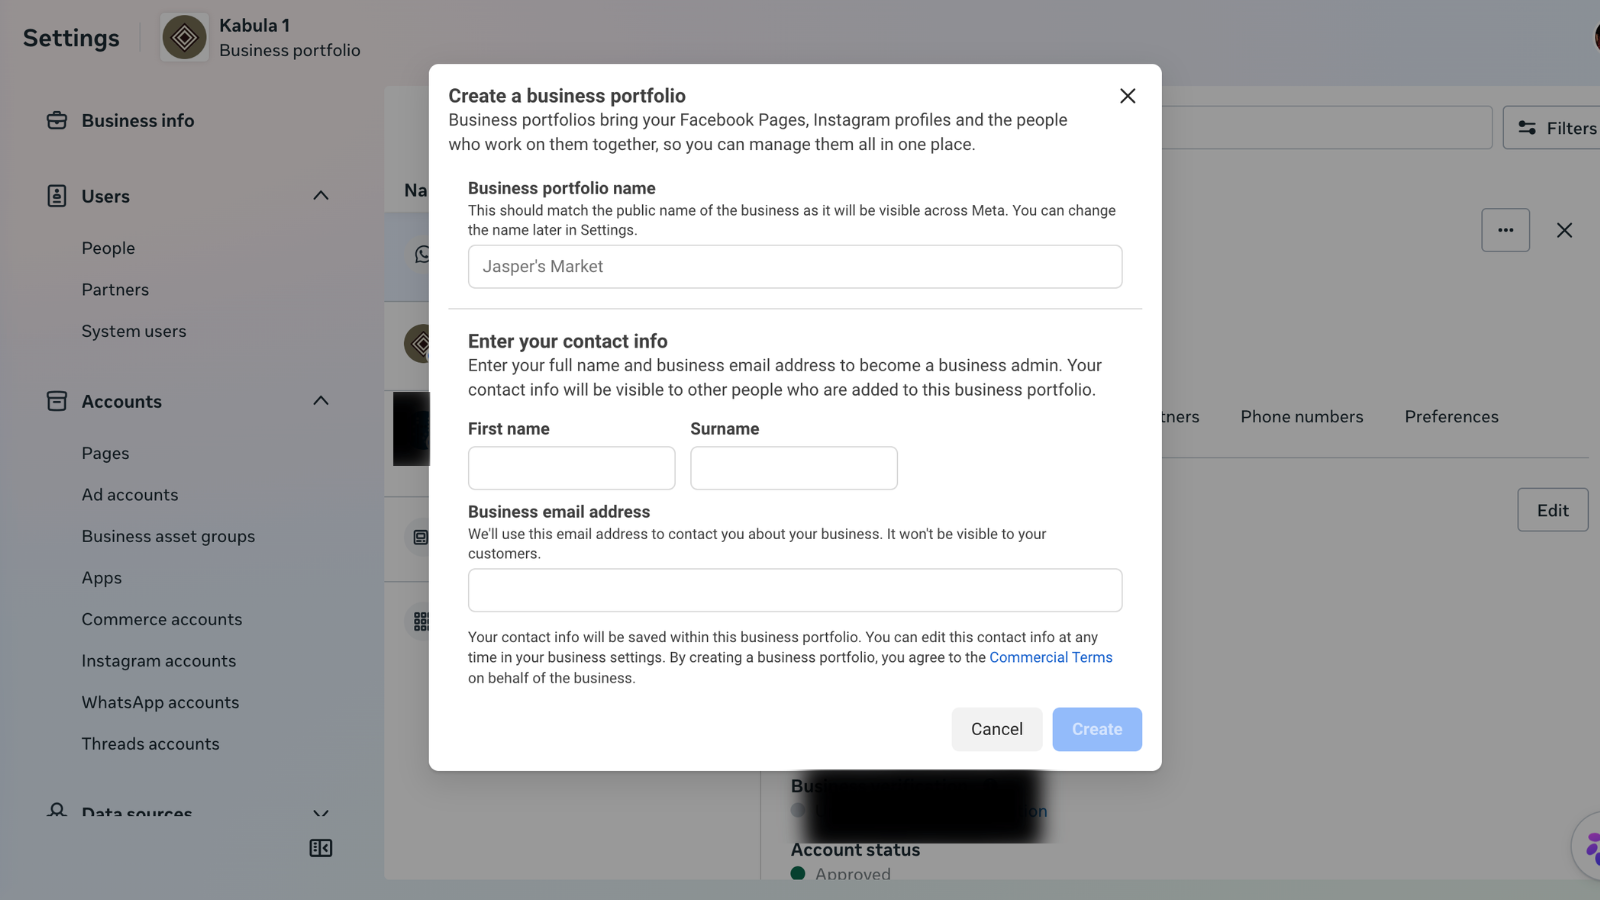
Go to business.facebook.com and select Create Account. Use your business email, not a personal one. It becomes the account's primary contact and recovery point, so it needs to belong to the business rather than one employee.
Step 2: Verify your business
Meta may ask for your legal business name, address and phone number, and may request a registration document to confirm your business details. Verification can take from a few hours to a few business days. Start early rather than waiting until the week you plan to launch a campaign. Check Meta's business verification guidance for current requirements.
Step 3: Add or create your ad account
In Business Settings, go to Accounts, then Ad Accounts. You have two options:
- Create a new ad account: the cleanest option if you're currently running ads from a personal setup. You gain business ownership from day one, but a new account will not carry over your previous campaigns and audiences.
- Add an existing ad account: useful if you already have one, but ownership transfer has restrictions. Check who owns the account before choosing this option.
For many small businesses starting from a personal setup, creating a new ad account is the more reliable long-term choice.
Step 4: Set up billing (a note on ZAR)
Add a payment method under your ad account's billing settings. A business card or business-controlled payment method gives you better continuity than an employee's personal card. If available for your account, select ZAR for local billing. Auction prices can still be influenced by global demand and exchange rates, so rand costs may change even when your campaign settings do not.
Step 5: Assign roles and permissions
Under Business Settings, go to People and add each person who needs access. Give people only the permissions they need:
- Admin: full control, including people and billing. Limit this to trusted people.
- Employee or advertiser: campaign access without full control of people and payment settings.
- Partner: give an agency access without sharing your personal login or giving away business ownership.
Access can be granted and revoked person by person, while the business keeps the account. See Meta's guidance on business access for current role options.
Step 6: Connect your Page and Instagram
Link your business's Facebook Page and Instagram account under Business Settings, then Accounts. Your ads can run under the business's own presence, while performance data stays connected to business assets.
Before you run your first campaign
Check these four things before spending a rand:
- Business verification shows as complete, if requested for your account.
- Another trusted person has appropriate admin access.
- Billing uses a business-controlled payment method.
- Your Facebook Page and Instagram account are connected and showing correctly.
If you're moving away from an older personal-profile setup, Kabula can help structure your ad account and access. Explore our social media ad account service.
FAQ
How long does business verification take?
Usually a few hours to a few business days, depending on how quickly your documentation matches your registered business details exactly.
Can I skip verification and still run ads?
For small spend levels, sometimes, but unverified accounts may face lower spending limits and additional checks. It is worth completing verification early.
What if I already have ads running on a personal profile? Do I lose that data if I switch?
If you create a new ad account rather than adding an existing one, audience and campaign history will not carry over. Check the ownership of your existing account before deciding.
Want this handled instead of doing it yourself? See Kabula's ad account setup service.
Ready to build the systems that scale with you?
Kabula equips African businesses with the infrastructure to grow consistently. Pick the services that match where you are now — and let us build the rest.
Explore Our Services